

drill press manual
Master your drill press with our comprehensive manual. Learn expert tips, safety guidelines, and maintenance tricks. Perfect for DIY enthusiasts and professionals!
This manual serves as a comprehensive guide for understanding and operating a drill press‚ covering setup‚ safety‚ maintenance‚ and best practices for optimal performance and longevity.
1.1 Overview of the Drill Press
A drill press is a stationary machine tool used for drilling precise‚ straight holes in various materials. Available in floor-mounted or benchtop models‚ it offers variable speed control and high torque for metal‚ wood‚ and plastic drilling. Its rigid construction ensures accuracy‚ making it essential for industrial and woodworking applications.
1.2 Importance of the Manual
This manual is crucial for safe and effective operation of the drill press. It provides detailed instructions on setup‚ usage‚ and maintenance‚ ensuring optimal performance and longevity. By following the guidelines‚ users can minimize risks and achieve professional-grade results in various drilling applications.
1.3 Target Audience
This manual is designed for professionals‚ hobbyists‚ and educational institutions working with metal‚ wood‚ or plastic. It caters to both novice and experienced users‚ providing essential guidance for safe and efficient operation. The content ensures that all users‚ regardless of skill level‚ can effectively utilize the drill press for their specific needs.
Safety Precautions and Guidelines
Ensure proper use of safety glasses‚ gloves‚ and secure workbenches. Keep hands away from moving parts and follow all operational guidelines to minimize risks and ensure safe drilling operations.
2.1 General Safety Rules
Always secure the drill press to a stable surface and ensure the workpiece is firmly clamped. Keep loose clothing and long hair tied back. Avoid operating the drill press if fatigued or under the influence of substances. Maintain a clean workspace and ensure proper ventilation. Never leave the machine unattended while in operation.
2.2 Personal Protective Equipment
Always wear safety glasses or goggles to protect eyes from debris. Use gloves for better grip and hand protection. Tie back long hair and avoid loose jewelry. Ensure proper fitting of PPE. Keep work area clean to prevent accidents. Regularly inspect PPE for wear and tear.
2.3 Workspace Preparation
Ensure the workspace is clean‚ dry‚ and well-ventilated. Secure the drill press firmly to a stable surface. Clear the area of flammable materials. Maintain good lighting to avoid shadows. Organize tools and materials within reach. Check for proper electrical connections and keep emergency equipment nearby. Regularly inspect the workspace for hazards to ensure safe operation.
2.4 Emergency Procedures
In case of an emergency‚ immediately switch off the drill press and disconnect the power supply. Evacuate the area if necessary and contact emergency services. Do not attempt to operate the machine until it is deemed safe. Refer to the manual for specific procedures and ensure all personnel are trained in emergency protocols.
Key Components of the Drill Press
The drill press consists of a motor‚ spindle‚ chuck‚ and table. Understanding these components is crucial for effective operation‚ safety‚ and maintenance of the machine.
3.1 Main Parts and Their Functions
The drill press features a motor for power‚ a spindle to hold the drill bit‚ a chuck to secure the bit‚ a table for workpiece support‚ and a column for stability.
3.2 Types of Drill Presses
Drill presses vary in design‚ including benchtop‚ floor-mounted‚ radial‚ and CNC models. Benchtop presses are compact for small workspaces‚ while floor-mounted units offer higher power and capacity. Radial presses allow drilling at angles‚ and CNC models enable automated‚ precise operations for complex tasks. Each type suits different needs‚ from hobbyists to industrial applications.
3.3 Accessories and Attachments
Drill presses can be enhanced with various accessories‚ such as clamps‚ vises‚ and specialized drill bits. These attachments improve accuracy and versatility‚ allowing for precise clamping‚ angled drilling‚ and handling different materials. Accessories like mortising attachments and sanding drums expand the drill press’s capabilities‚ making it a multi-functional tool for woodworking and metalworking projects.
Installation and Setup
Proper installation involves unpacking‚ securing the drill press to a sturdy surface‚ and ensuring electrical connections meet requirements. Initial testing confirms everything functions correctly before use.
4.1 Unpacking and Inventory
Begin by carefully unpacking the drill press and all included accessories. Verify the completeness of the shipment against the provided inventory list in the manual. Ensure all parts‚ such as the base‚ table‚ spindle‚ and chuck‚ are present and undamaged. Check for any additional hardware or tools required for assembly and operation.
4.2 Securing the Drill Press
Secure the drill press by bolting it to a sturdy workbench using the provided or appropriate bolts. Ensure the surface is level and stable. Tighten all fasteners firmly to prevent any movement during operation‚ ensuring safe and precise drilling. Properly anchoring the machine is critical for optimal performance and user safety.
4.3 Electrical Requirements
Ensure the drill press is connected to a suitable power source matching its voltage and current specifications. Use a dedicated circuit to avoid power fluctuations. Avoid using extension cords unless necessary‚ and always follow the manufacturer’s guidelines for electrical connections. Consult the manual for specific electrical requirements to ensure safe and efficient operation.
4.4 Initial Testing
Perform an initial test by drilling a small hole in scrap material to ensure proper function. Check for vibrations‚ unusual noises‚ or misalignment. Verify that the drill bit is secure and the speed setting is appropriate for the material. Consult the manual for specific testing procedures to ensure optimal performance and safety.
Operating the Drill Press
This section details the proper procedures for starting the machine‚ setting speeds‚ clamping workpieces‚ and performing drilling operations safely and effectively.
5.1 Starting the Machine
Ensure all safety precautions are in place before starting. Locate the power switch‚ typically found on the front or side panel. Turn it on to initiate the motor. Allow the machine to reach full operational speed before beginning any drilling operation. Always perform a brief test run without a load to ensure smooth operation.
5.2 Setting the Correct Speed
Refer to the built-in speed chart on the drill press to select the appropriate RPM for your material and drill bit type. Adjust the belt or pulley system to match the recommended speed‚ ensuring optimal performance and preventing damage to the tool or workpiece. Always test the speed before starting the drill operation.
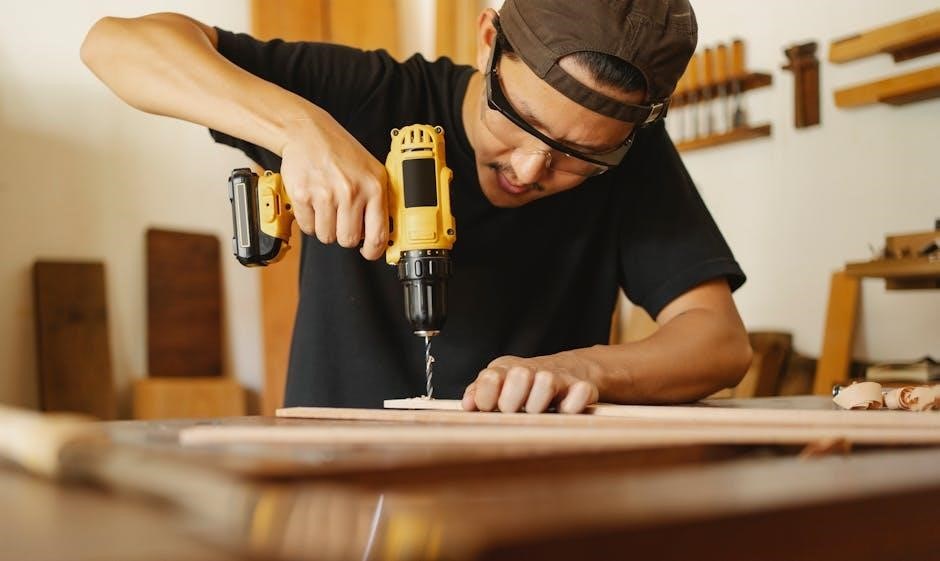
5.3 Clamping the Workpiece
Secure the workpiece firmly using clamps or a vise to prevent movement during drilling. Ensure the material is flat and aligned with the drill bit. Tighten clamps gradually to avoid warping the material. Proper clamping is essential for accurate drilling and safety‚ preventing vibrations or shifting that could lead to errors or accidents.
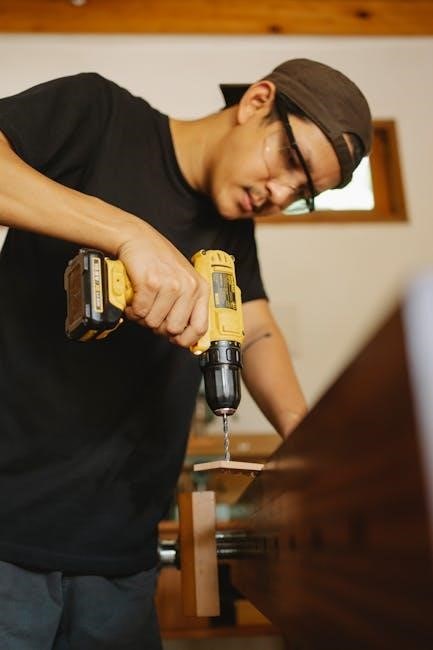
5.4 Performing the Drill Operation
Start the drill press at the selected speed and gently lower the bit onto the workpiece. Apply steady‚ consistent pressure along the axis of the drill. Avoid applying excessive force‚ which could bend the bit or damage the material. Monitor the drilling process to ensure accuracy and safety. Once complete‚ turn off the machine and allow it to stop fully before removing the workpiece.
Maintenance and Troubleshooting
Regular maintenance ensures optimal performance. Lubricate moving parts‚ check for wear‚ and address common issues promptly. Proper care extends the drill press’s lifespan and reliability.
6.1 Regular Maintenance Tasks
Regular maintenance ensures smooth operation and extends the drill press’s lifespan. Lubricate moving parts‚ check alignment‚ inspect belts for wear‚ and clean the machine. Replace worn components promptly and ensure all bolts are tightened. Refer to the manual for specific maintenance schedules and procedures to keep your drill press in optimal condition.
6.2 Common Issues and Solutions
Common issues include misalignment‚ vibration‚ or bit slippage. Check and adjust alignment regularly‚ tighten loose parts‚ and ensure proper clamping. For motor issues‚ consult the manual or contact support. Addressing these problems promptly prevents further damage and ensures reliable performance. Always refer to troubleshooting guides for specific solutions.
6.3 Lubrication and Cleaning
Regular lubrication ensures smooth operation. Apply silicone spray or light machine oil to moving parts. Clean the drill press after each use‚ removing debris with a soft cloth. Use mild detergents for tough stains. Avoid harsh chemicals or abrasive materials that may damage surfaces. Proper maintenance prolongs tool life and prevents corrosion.
Choosing the Right Drill Bits
Selecting the appropriate drill bits is crucial for precise drilling. Consider material type‚ hole size‚ and drill press compatibility. Proper installation ensures safety and optimal performance.
7.1 Types of Drill Bits
Drill bits vary in design and material‚ including twist bits for general use‚ spade bits for large holes‚ Forstner bits for precise flat-bottom holes‚ and metal bits for drilling through tough materials. Each type is optimized for specific tasks‚ ensuring efficiency and accuracy in various drilling applications.
7.2 Selecting Bits for Specific Materials
Selecting the right drill bit depends on the material being drilled. For wood‚ standard steel bits suffice‚ while metal requires high-speed steel or titanium nitride bits. Glass and ceramics need diamond-coated bits‚ and plastics may require specialized bits to prevent melting. Always match the bit type to the material for optimal performance and durability.
7.3 Installing and Removing Bits
Installing and removing drill bits is crucial for safe and effective drilling. To install‚ align the bit shank with the chuck‚ push until it clicks‚ and tighten securely. For removal‚ loosen the chuck and pull out the bit. Always ensure the bit is properly seated and tightened before operating the drill press. Keep hands clear and ensure the workpiece is clamped tightly to avoid accidents.

Advanced Features and Techniques
Explore specialized attachments for enhanced drilling precision‚ learn angled drilling methods‚ and discover advanced tips for achieving superior accuracy and control in complex drilling operations.
8.1 Using Specialized Attachments
Specialized attachments‚ such as mortising kits‚ sanding drums‚ and tilting tables‚ enhance the drill press’s versatility. These tools allow for precise mortise joints‚ surface sanding‚ and angled drilling‚ expanding your project capabilities and ensuring professional-grade results with ease and accuracy.
8.2 Drilling at Angles
Drilling at angles requires precise alignment of the drill bit with the workpiece. Use a tilting table or angle vise for accurate results. Always clamp the workpiece securely to prevent movement. Follow safety guidelines to avoid accidents and ensure consistent‚ high-quality outcomes.
8.3 Precision Drilling Tips
For precise drilling‚ use the correct drill bits and techniques. Maintain focus and avoid distractions. Pilot drilling ensures accuracy‚ while the pecking method prevents debris buildup. Use coolant on metal to avoid overheating. Regularly inspect and replace worn bits for consistent results and to maintain tool longevity.
Best Practices for Optimal Performance
Prepare materials properly‚ reduce vibration by securing workpieces‚ and avoid common mistakes like overloading or improper alignment for consistent results and extended tool life.
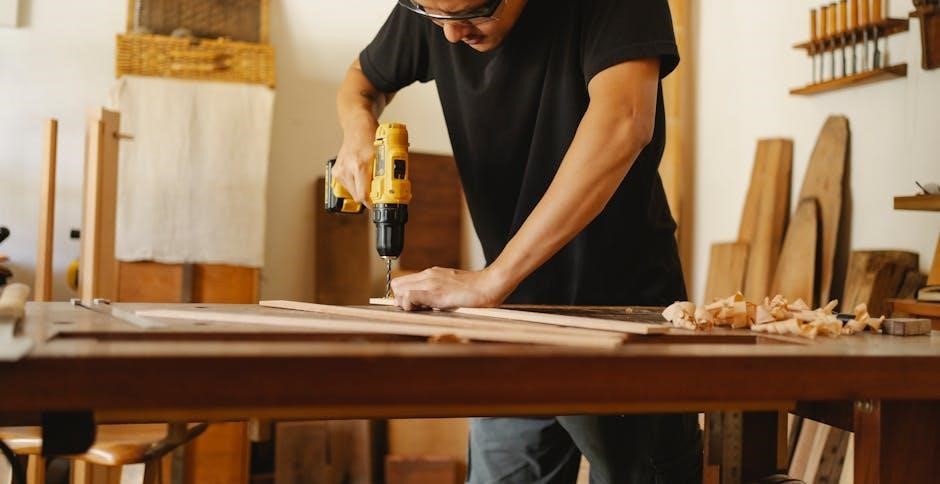
9.1 Material Preparation
Ensure materials are clean and dry to prevent debris interference. Use a vice or clamps to secure workpieces‚ maintaining stability. Always measure and mark drill points accurately. This reduces vibration‚ enhances precision‚ and prevents damage to both the material and the drill bit‚ ensuring smoother operations and consistent results.
9.2 Reducing Vibration
Secure the workpiece firmly using clamps or a vice to minimize movement. Ensure proper alignment of the drill bit with the material. Use balanced accessories and maintain the drill press on a stable‚ level surface. Regularly check and tighten all machine components to prevent wobbling‚ ensuring smoother operations and reduced vibration during drilling.
9.3 Avoiding Common Mistakes
Avoid using dull or incorrect drill bits‚ as they can cause poor results or damage. Always ensure proper alignment before drilling. Never remove chips by hand while the machine is running. Keep loose clothing tied back and avoid overreaching. Regularly inspect the drill press for wear and tear to maintain accuracy and safety during operations.
Environmental and Storage Considerations
Store the drill press in a dry‚ cool place to prevent rust. Clean thoroughly before storage and use protective coverings. Avoid storing near chemicals or flammable materials.
10.1 Proper Storage Conditions
Store the drill press in a clean‚ dry‚ and well-ventilated area away from direct sunlight and moisture. Ensure the surface is level and secure to prevent tipping. Cover the machine with a protective cover to shield it from dust and debris. Avoid storing near flammable materials or chemicals to maintain safety and prevent damage.
10.2 Disposal Guidelines
Dispose of the drill press responsibly by adhering to local environmental regulations. Check for recycling programs that accept metal and electrical equipment. Disconnect the power source and remove accessories before disposal. Ensure all hazardous materials‚ like oil or coolant‚ are drained and disposed of separately. Consult a professional for safe disposal to prevent environmental harm.
Warranty and Customer Support
This section outlines the warranty terms‚ customer support contact details‚ and availability for assistance with your drill press‚ ensuring comprehensive support for maintenance and troubleshooting.
11.1 Understanding the Warranty
This section details the warranty coverage for your drill press‚ including the duration‚ scope‚ and conditions. It outlines what is covered‚ such as defects in materials and workmanship‚ and the timeframe for claims. The warranty typically lasts for one year from the date of delivery‚ but specific terms may vary by manufacturer.
11.2 Contacting Customer Service
For assistance‚ contact customer service via phone at 0800 999 1090 or through the manufacturer’s website. Provide your model number and a detailed description of your inquiry for efficient support. Representatives are available to address warranty claims‚ technical questions‚ and general inquiries during business hours.
Additional Resources
For further assistance‚ visit official websites like jettools.com or axminster.co.uk for PDF manuals‚ guides‚ and customer support. Explore online communities for additional tips and troubleshooting.
12.1 Recommended Reading
Consult the Wilton 15-Inch Vari-Speed Drill Press manual‚ Powermatic Model PM2800B guide‚ and Shopcraft Drill Press Manual for detailed instructions. Visit jettools.com‚ axminster.co.uk‚ and Clarke’s website for PDF downloads. These resources provide essential tips‚ troubleshooting‚ and maintenance advice to enhance your drill press experience and ensure safe‚ efficient operation.
12.2 Online Communities and Forums
Engage with online forums and communities like Reddit’s woodworking and machining groups‚ Facebook’s drill press enthusiast pages‚ and specialized platforms like Workshop Press. These spaces offer valuable troubleshooting tips‚ project ideas‚ and peer discussions. Participate in forums to share experiences‚ ask questions‚ and learn from seasoned professionals and hobbyists.